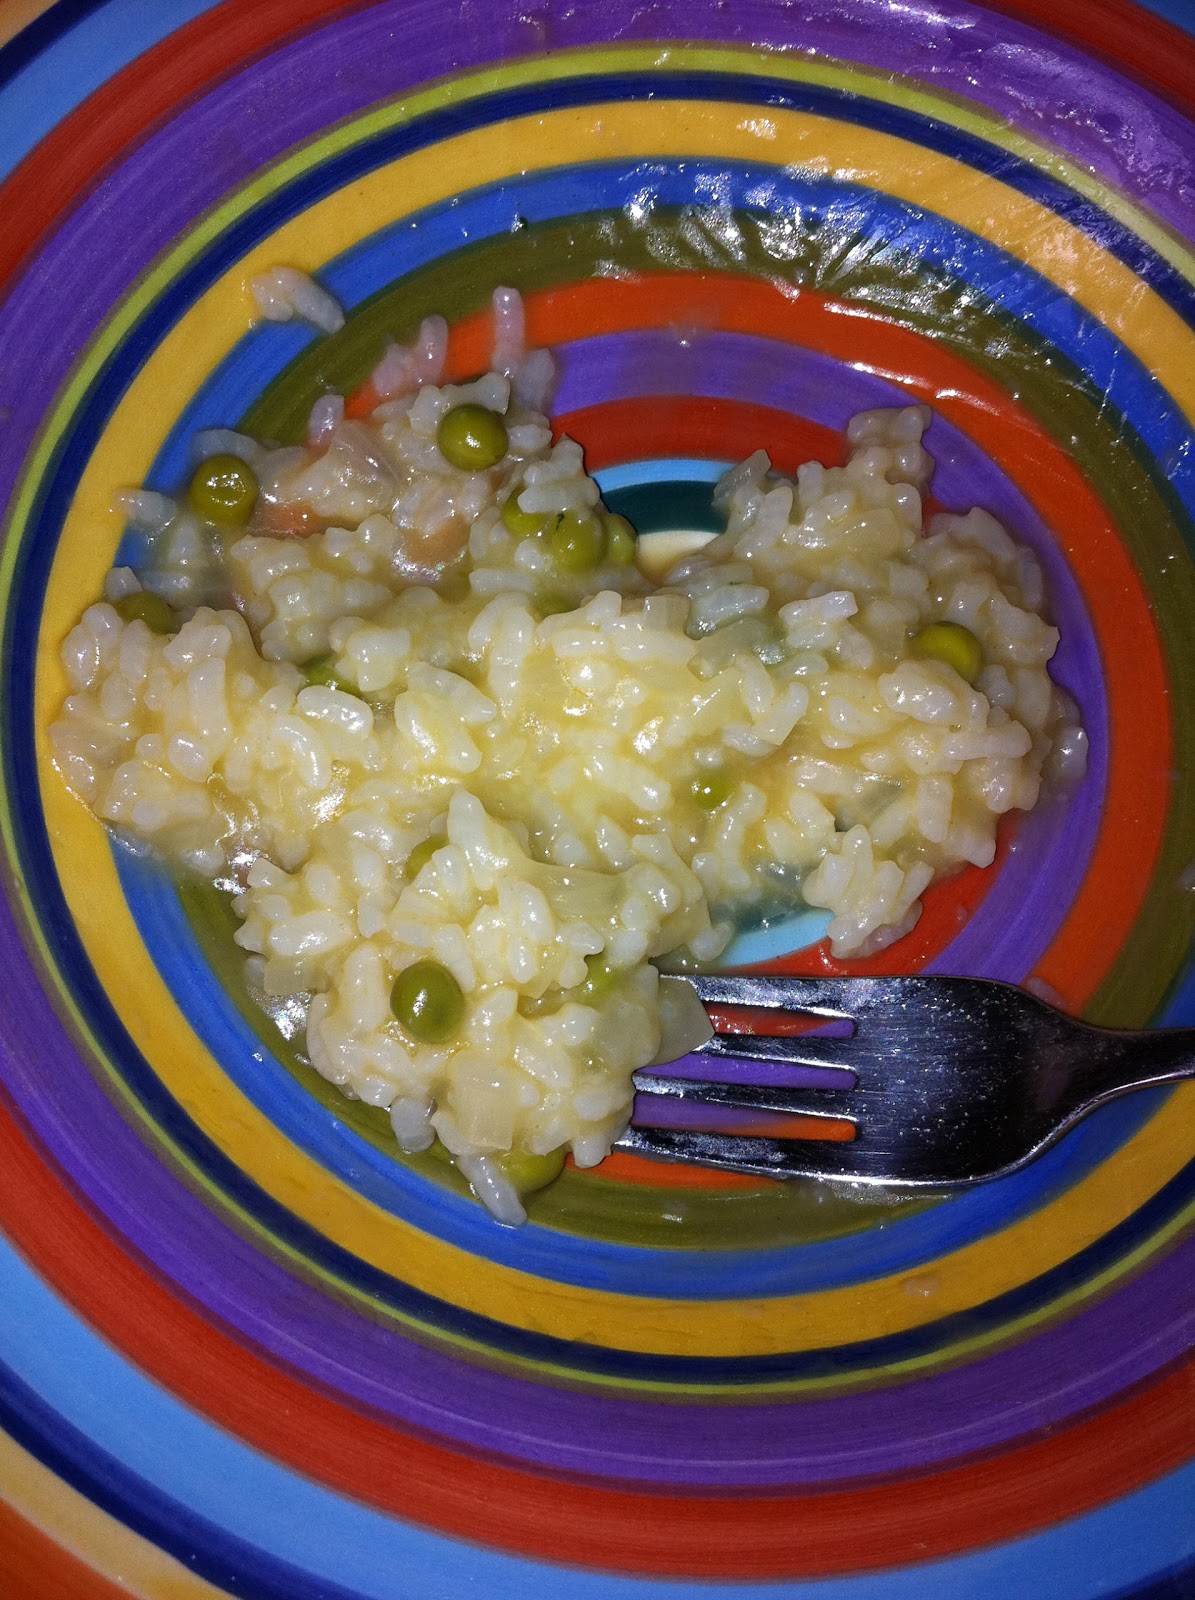
This is a great risotto recipe as it is 'almost no-stir'. You can also use it as a base for any risotto you want to make, just add different ingredients, such as baby spinach, asparagus, capsicum, pumpkin, mushrooms, you could even exchange the white wine for red and add some tomatoes.
Serves 4
1.5 litres vegetarian chicken stock (such as Massel) or vegetable stock, simmering
45g butter or margarine
1 onion, finely chopped
1 1/2 cups arborio rice
Grated rind of 1 lemon (though I just use a good squeeze of Berri Lemon Juice)
1/3 cup dry white wine
3/4 cup frozen peas
1/2 cup grated vegetarian parmesan cheese
1. Heat 30g butter or margarine in a large saucepan. Add onion and cook over moderate heat for 5 minutes stirring occasionally until onion is soft but has not changed colour.
2. Add rice and lemon rind (or juice) and cook for 1 minute stirring to coat rice with butter (or margarine).
3. Add wine, stir and allow almost to evaporate.
4. Add about half of the stock to the rice mixture. Stir well and adjust temperature so that the mixture is bubbling away slowly.
5. Check after 5 minutes and add remaining stock and peas, giving it a good stir.
6. Keep an eye on the pan, stirring occasionally. It will take about 18-25 minutes to cook. To test if cooked, the rice should be soft but retain a little bite.
7. Remove from heat and add remaining 15g butter or margarine and parmesan. Cover and allow to sit in a warm place for 5 minutes before serving.
Happy eating :)
This recipe is a famous one of my mum's so I hope she doesn't mind me sharing it, it's just that these biscuits are so good that the whole world should be able to enjoy them! I have to add a warning though, these biscuits are VERY addictive and I take no responsibility for you getting very fat very quickly.
Unfortunately the recipe I have only gives weights for all the ingredients, which is a bit inconvenient, but oh well.
Makes about 12 biscuits
130g plain flour, sifted
100g grated vegetarian parmesan cheese
Pinch of salt
100g butter
50g grated vegetarian cheddar cheese
2 medium egg yolks, beaten
10-20ml milk
1. Heat the oven to 170 degrees Celsius. In a bowl, mix together the flour, parmesan cheese, and salt.
2. Rub or cut in the butter until the mixture resembles moist breadcrumbs.
3. Mix in the cheddar cheese.
4. Add the egg yolk and bind together with a fork to make a soft dough. Add a little milk, just enough to make the dough pliable. Mix in well.
5. Using a table spoon, scoop out lumps of dough and roll them into balls. Place the balls on a baking tray and flatten them a bit with a fork.
6. Bake for 15-20 minutes or until light golden and crisp. Remove from the oven and leave to cool on the tray for 2-3 minutes before transferring to a wire rack to cool completely.
7. Say hello to cholesterol.
Happy eating :)
To all you other Harry Potter fans out there, how many times have you wished that you could curl up with one of the books and a nice warm glass (or mug) of butterbeer? Well now you can! Here's how to make this delicious specialty of the Three Broomsticks.
Firstly, to make the butterscotch sauce (makes 330ml/1 1/3 cup):
160 ml (2/3 cup) thin cream
155g (3/4 cup firmly packed) brown sugar
50g (2 1/2 tbs) butter
2 tsp vanilla essence
1. Place all ingredients into a heavy-based saucepan, stir over medium heat for 5 minutes or until well combined.
2. Increase heat to high and bring to the boil. Reduce heat to low and simmer, uncovered, stirring often, for 5 minutes or until the sauce thickens. This can either be set aside at room temperature for use later or can be used straight away to...
Secondly, make the butterbeer (makes 2 small serves):
1 cup soda water
1/2 cup butterscotch sauce
1/2 tbs butter
1. Measure butterscotch sauce and butter into a microwave safe measuring jug. Microwave on high for 1-1.5 minutes, or until the syrup is bubbly and the butter is completely incorporated.
2. Stir and cool for 30 seconds, then slowly mix in soda. Mixture will fizz quite a bit.
3. Serve in coffee mugs or glasses while warm.
Happy eating :)
Vegie mash is one of my favourite meals of all time! It is deliciously addictive and good for you at the same time, and it's not often you come across that! Vegie mash is so easy to make, you can make as much or as little as you want, use whatever's handy, and the leftovers are great for lunch the next day.
To make vegie mash, you just cook up a whole bunch of vegies and mix and mash them up. I usually then either add some cheese or top with Gravox Brown Onion and Garlic Gravy (which is vegan). Though you can pretty much use any vegies that take your fancy (I would avoid ones such as capsicum, however), I always use potato in mine as it binds it all together.
Other vegies that are good to use are carrot, pumpkin, sweet potato, broccoli, peas, corn, zucchini, squash, and finely chopped spinach or silver beet. I am curious about adding some lentils as well but as yet I have never done this so I don't know how it would work out! I add a bit of Nuttelex too because it makes it nice and smooth and brings out the flavours.
If you avoid putting dairy butter or cheese into it, then this meal is vegan. I find that this is the perfect dinner to eat curled up on the lounge in front of the TV, or with a nice book or nice company on a cold night.
Here is some vegie mash with gravy, accompanied by a warming goblet of mead.
Happy eating :)
Haloumi is a type of cheese and it is usually fried. It is delicious and is great in wraps or in the s word.... salad. Frying haloumi is easy and it doesn't melt all over the place like other cheeses would. I use Lemnos Haloumi Cheese because you can buy it in the supermarket and they use non-animal rennet.
Haloumi cheese
Wholemeal pita breads
Salad ingredients
1. Prepare whatever salad ingredients you want to put into your wrap (I just use whatever's handy, in this case mixed lettuce, grated carrot, and cucumber) and arrange in a strip down the centre of the pita bread.
2. Cut the haloumi into slices and place in a frying pan with no oil. Fry on a medium-low heat until the bottom is crispy and golden. Turn the haloumi over and cook until the other side is crisp and golden.
3. Turn the heat off and squeeze a bit of lemon juice over the cheese, I just use Berri Lemon Juice which keeps in the fridge for years (I don't want to know why!). Turn the haloumi over so that both sides have a light coating of lemon juice.
4. Remove the haloumi from the pan and place on top of your salad, add a little pepper if you like (you won't need salt).
5. Wrap it up and get it in your mouth for some yummy good times!
Happy eating! :)